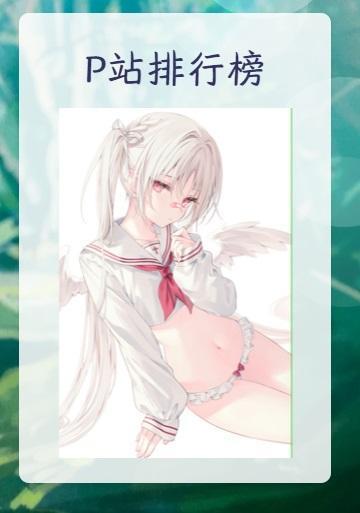
在网站右侧添加一个p站的小挂件。
效果演示:

来源于mokeyjay大佬的开源项目:
<div class="wp-block-argon-github github-info-card card shadow-sm github-info-card-full" data-author="mokeyjay" data-project="Pixiv-daily-ranking-widget">
在网站右侧添加一个p站的小挂件。

来源于mokeyjay大佬的开源项目:
<div class="wp-block-argon-github github-info-card card shadow-sm github-info-card-full" data-author="mokeyjay" data-project="Pixiv-daily-ranking-widget">
打开仪表盘→外观→小工具→右侧栏小工具(也可以改为你想要放置的地方)
点击“+”,选择“自定义HTML”,填入以下代码:
一行代码版:
<pre
class="wp-block-code"><iframe src="https://cloud.mokeyjay.com/pixiv" style="width:240px; height:380px; border: 0"></iframe>
添加标题版:
<body>
    <h2 style="text-align: center;">P站排行榜</h2>
    <div style="display: flex; justify-content: center;">
        <iframe src="https://cloud.mokeyjay.com/pixiv" style="width:200px; height:280px; border: 0;"></iframe>
    </div>
</body>然后点击预览查看是否成功渲染。
此挂件支持自适应宽高,你只需要修改代码中的 width 或者 height 的值即可
例如你想要宽 300、高
500,则需要将上述代码中的width:240px; height:380px; 修改为 width:300px; height:500px;
因为大多数 pixiv 画作的预览图都是 240*380 左右的分辨率,因此一般并不需要修改宽高度
默认背景色为透明,如需修改背景色,可以添加 url 参数 color
例如你想要红色背景,则将上述代码中的/pixiv 修改为
/pixiv?color=f00
其中 f00 即表示红色,支持 3 或 6 位 十六进制颜色值
,无需 # 号
默认只显示排行前 50 的作品。你可以通过 url 参数 limit 来修改
limit 最大值为 500,因为排行榜最多就只有 500 名
例如你只想要前 10,则将上述代码中的/pixiv 修改为 /pixiv?limit=10
如果一切顺利,那么网站的右侧将会出现一个p站排行小画框。
